It is easy to screen record on iPhone. Just follow the simple steps on our video:
Screen Recording
Screen recording is a really useful feature on a smartphone, it’s a quick and effective way of showing someone what is happening on your screen; sometimes this can be easier than describing something in an email or a text, or even in a conversation.
Go to Settings
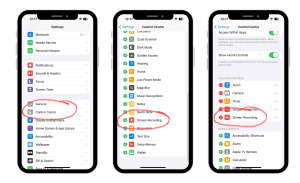
On an iPhone to find screen recording go to Settings > Control Centre, then scroll down through the list of controls and find Screen Recording, then tap the green plus icon next to it, and it will move up to the list of included controls at the top.

Control Centre?
Then you need to go to your actual Control Centre, but where can you find it?
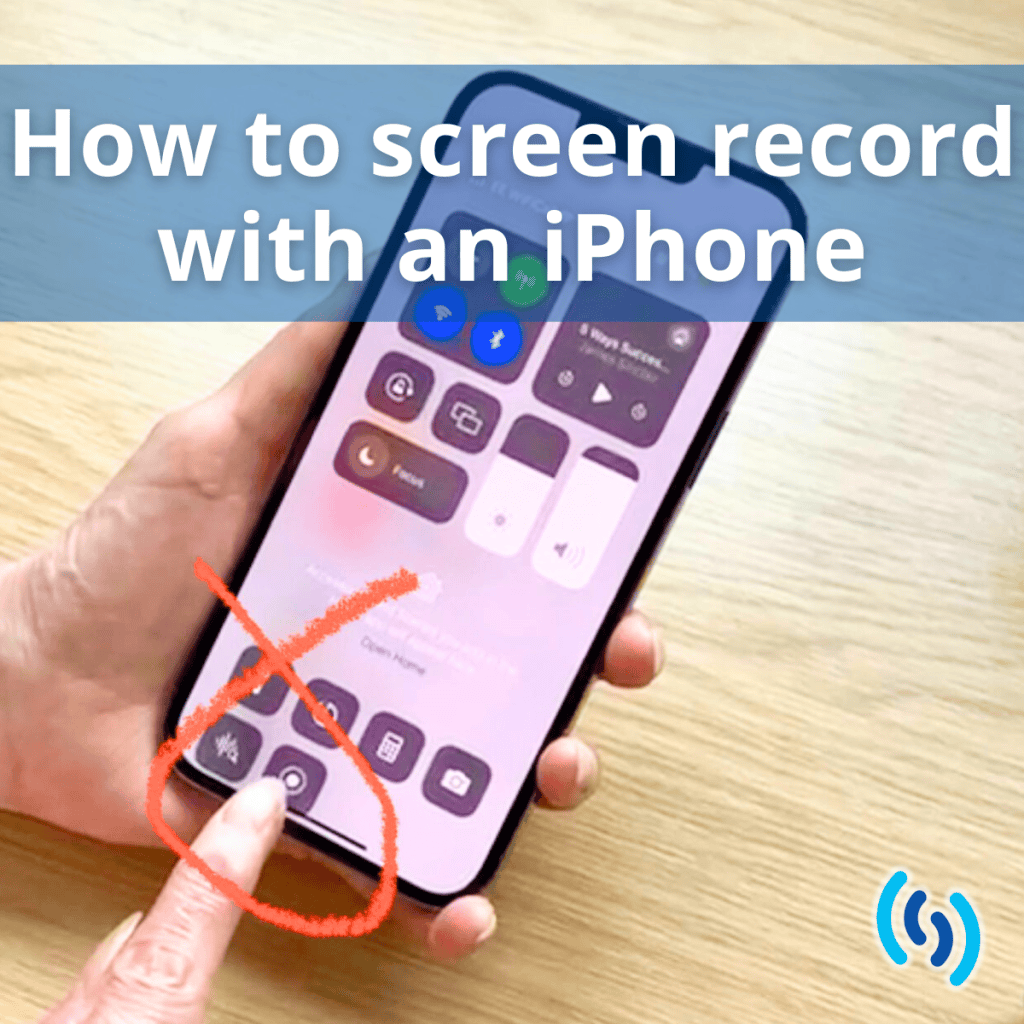
The Control Centre is a collection of controls that you can find by swiping down from the top right of the screen (but only if you have an iPhone with Face ID). If your iPhone is older and has a Home button, you find it by swiping up from the bottom edge of the screen. The screen recording button isn’t automatically available in this location, unless you’ve followed the steps above.
How to Start
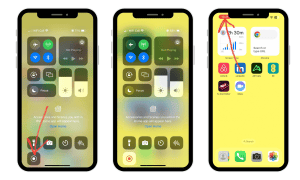
To start a screen recording you need to tap the icon with a white dot in the middle, this will give you a 3 second countdown, so you can prepare your screen for recording, once the dot turns red it means it is recording. When you have recorded everything you need to, you can either go back to the control centre and tap the dot again to stop the recording, or you can tap the red dot where the time is at the top of your screen.

The video will then automatically save into your Photos app, where you can then edit it if necessary.


